



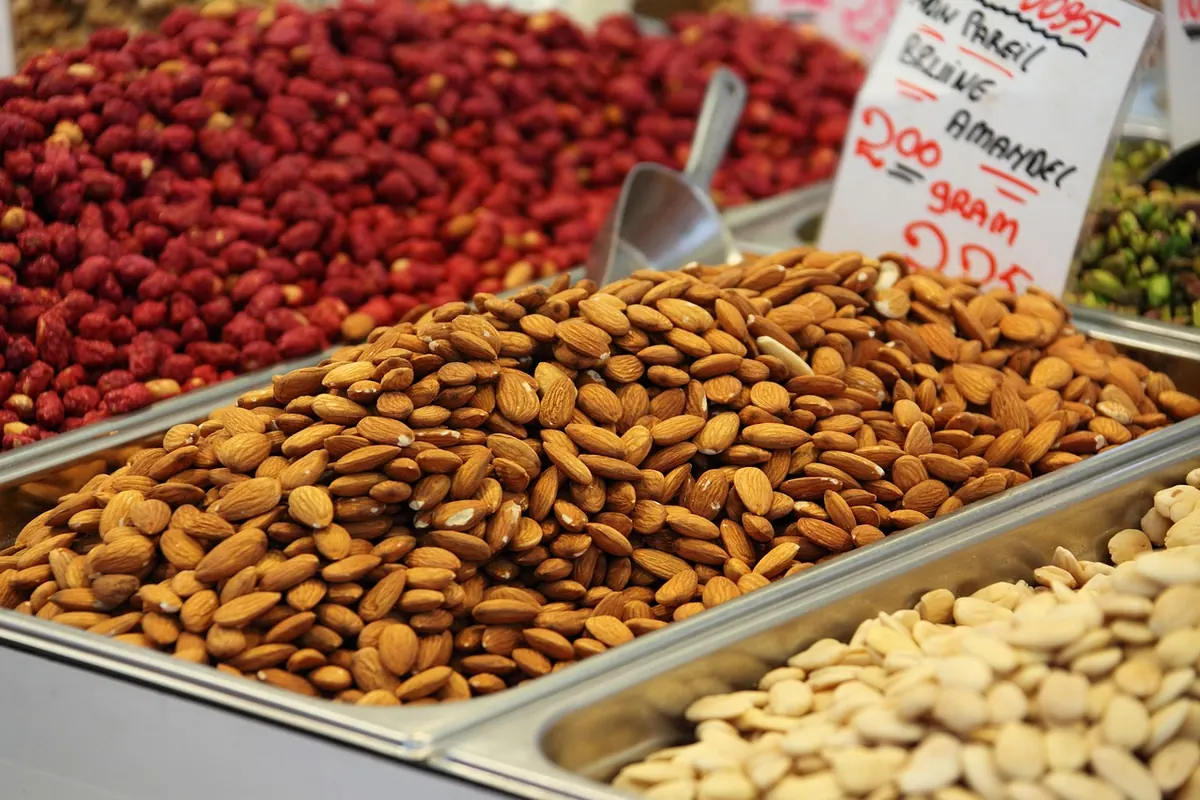


The first Saturday is the hard one. Not the pitch fee, and not the gazebo you will curse at 6:40 in the morning. It is the moment a stranger picks up your jar, turns it over, and decides whether to put it back. Thirty days is enough time to get from a kitchen-table idea to a folding table with a queue in front of it — provided you spend the first week on paperwork instead of labels.
Days 1–3: Cut the Range Before You Cut the Ribbon
Most first stalls fail from generosity. Twenty products feel like a proper market; twenty products also mean twenty price signs, twenty lots of stock to carry, and a table so crowded that nobody can see anything. Write down the six things you make best. Then cut three.
Before you commit, walk the market you want to join. Go early, while traders are setting up, and look at what is already there. If three stalls sell sourdough, your sourdough needs a reason to exist or you need a different line. Note the gaps: what people ask for and don't find, what sells out by ten, what the queue forms around.
Choose products that survive a morning in a cool box and a bag on the bus. Anything that melts, wilts or needs explaining for four minutes is a difficult first product. A tight, repeatable range lets you restock what actually sells and answer questions with confidence, which is worth more than variety on day one.
Days 4–10: Permits, Insurance and the Paperwork Nobody Mentions
This is the week that decides whether you trade on schedule. Rules differ by country, region and even by market, so treat the list below as questions to ask rather than a checklist to assume. Call the market manager on day four — they are usually the fastest source of truth and they will tell you what they actually check on arrival.
- The market operator or local authority. Pitch applications, pitch dimensions, fees, trading hours, setup and breakdown times, and whether they require a specific level of insurance.
- Food business registration. In many places this is handled by the local authority and must be done before you trade, even from home. Ask what applies to you.
- Food hygiene training. Many markets ask for a certificate or expect you to demonstrate knowledge of safe handling, storage temperatures and labelling.
- Public liability insurance. Most markets want a certificate before you set up. It is usually inexpensive for a small stall, and you should not leave home without it.
- Street trading consent or a trader's licence, if your area requires one separately from the pitch agreement.
- Tax and record-keeping. Register where required and keep every receipt from day one — pitch fees, ingredients, packaging, fuel.
Allow more time than feels necessary. A single missing document can cost you an entire weekend, and weekends are the whole business. On anything involving registration, tax or liability, get advice from your local authority and a qualified accountant rather than relying on a forum thread.
Days 11–15: Build a Stall That Works in Three Metres
Your stall is not a display; it is a small shop with one wall missing. Design it for a customer standing two metres away, holding a bag, deciding in about eight seconds.
Build upward, not outward
A single flat table looks like a jumble sale. Use crates or a simple shelf to create two or three heights, put the tallest items at the back, and keep the middle of the table at the customer's eye level for whatever you most want to sell. Keep the front edge clear — people need somewhere to put a wallet down or lean a child's hand.
The two-metre rule
Your main sign must be readable from across the aisle. That means a short name in large letters, not a paragraph about your philosophy. Price every item clearly and in the same place on each card, because customers hate asking. Keep a cash float in small notes and coins, a card reader or payment QR code, bags, a cloth, hand sanitiser, and a lidded box for the money. Weighing scales, if you sell by weight, need to be visible and accurate.
Do a dry run in a garden or car park. Set up, take it down, time yourself. If setup takes fifty minutes at home, it will take seventy in the dark with a wind blowing.
Days 16–22: Your First Stock Should Be Boring
Buy to a conservative estimate, not a hopeful one. Assume you will sell less than you want to. It is far better to sell out at noon and take names for next week than to drive home with half your stock and a lesson about perishables.
Plan the leftovers before you make them. Which items freeze, which keep for another week, which go to family, which get written off as a cost of learning? Knowing that in advance keeps you from panic-discounting at two in the afternoon, which teaches customers to wait for the cheap hour.
Keep a simple stock sheet: what you brought, what you sold, what you threw away. Three weekends of that sheet will tell you more about your business than any amount of planning.
Days 23–26: Pricing That Survives Week Two
Add up your ingredients, packaging, labels, pitch fee, insurance spread across the month, transport and your own hours. Divide by the number of units you realistically expect to sell. That figure is your floor, not your price.
Then look at the market. Under-cutting the stall next to you starts a fight you cannot win and makes your product look cheaper than it is. Most successful stalls run three tiers: an entry item that is easy to try, a core item that most people buy, and a larger or gift format for the customer who has already decided. Round numbers are easier to handle in a queue, and bundles — three for the price of a small saving — lift the average sale without discounting your work.
Write your prices down before the weekend and stick to them. Improvising at the table, especially when someone hesitates, is how good products end up sold at a loss.
Days 27–30: Fill the First Saturday
You will not get passing trade on day one; you get the people you invited. Tell the market manager what you are bringing and ask whether they can mention it. Post in the local community groups that actually allow it, put a simple flyer in nearby shop windows with permission, and message the twenty people most likely to show up. Ask them to come before eleven, because a busy stall attracts more business than an empty one.
- Confirm your pitch number, arrival time and vehicle access.
- Pack the night before: stock, signage, float, bags, cloths, tape, scissors, spare layers, water, snacks.
- Charge everything. Test the card reader on the morning, not at the first sale.
- Print a paper sign-up sheet for people who want to know where you will be next week.
- Bring samples if your product allows it — a small taste is the cheapest sale you will ever make.
The Monday After: A Fifteen-Minute Debrief
Before the weekend fades, write down four things: what sold out, what didn't move, what people asked for that you didn't have, and the one question you got asked most often. That's your plan for next week, and it's more useful than any marketing idea.
Then look after the boring parts. Reconcile the cash, log the card takings, note the pitch fee, and file the receipts while they're still in your pocket. A stall that runs on tidy records is a stall that can grow into a second day, a second market, or a small wholesale order. The first Saturday is the hard one. The second is where the business starts.
Photo: Peggy_Marco / Pixabay